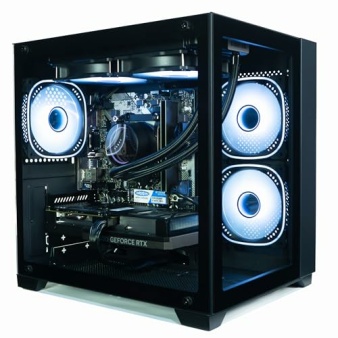
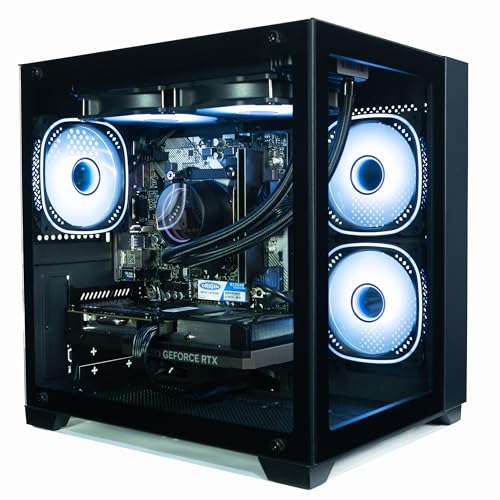
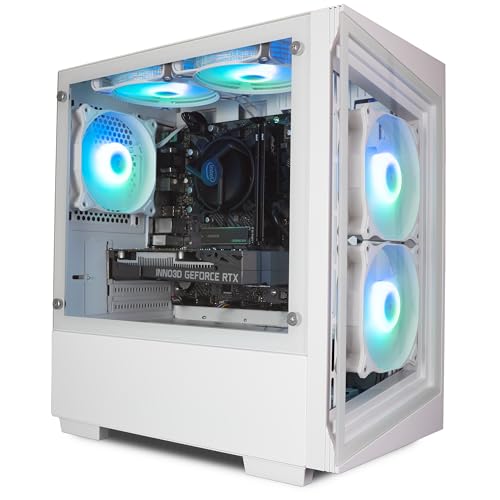
Building a budget gaming PC is a rewarding process and allows you to customize your setup to meet your performance needs while staying cost-effective. Here’s a step-by-step guide to help you assemble a gaming PC without breaking the bank.
📝 Step 1: Determine Your Budget and Goals
- Budget Range: $500 – $800 typically covers a decent budget build.
- Gaming Needs: Decide which games you’ll play and the performance you’re aiming for (e.g., 1080p at 60fps).
🛠️ Step 2: Select Your Components
1. CPU (Processor)
Choose a good balance between price and performance. Budget gaming builds benefit from CPUs with integrated graphics or good value multi-core processors.
- AMD Options: Ryzen 5 5600G (with integrated graphics) or Ryzen 5 5500.
- Intel Options: Core i3-12100F or Core i5-12400F.
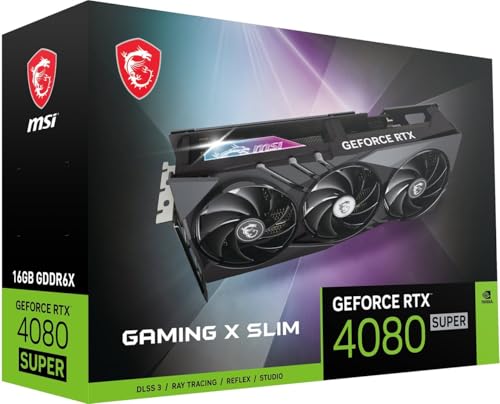
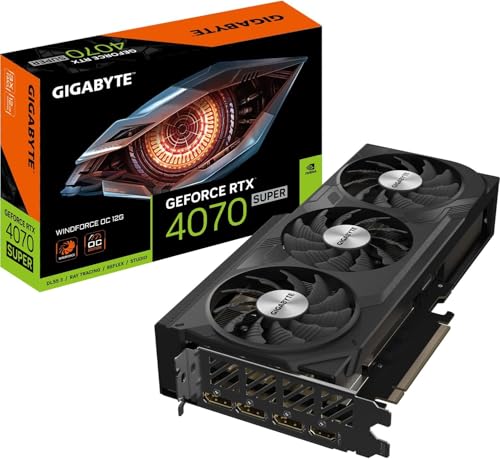
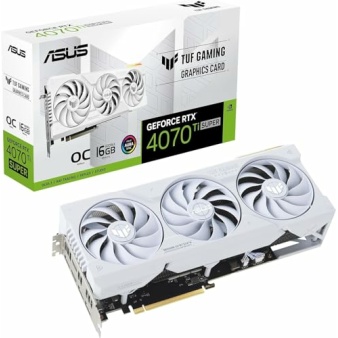
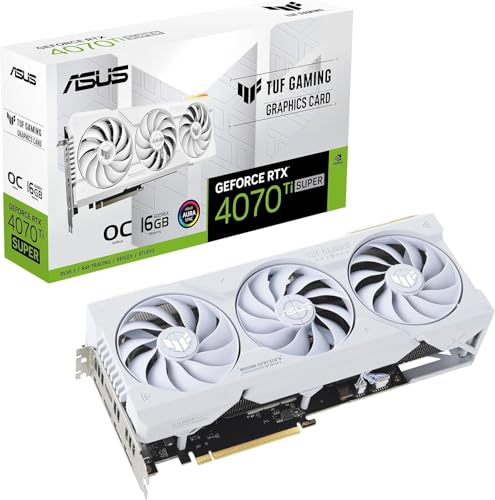
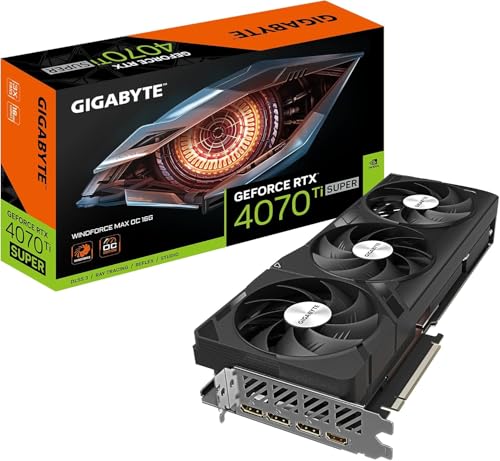
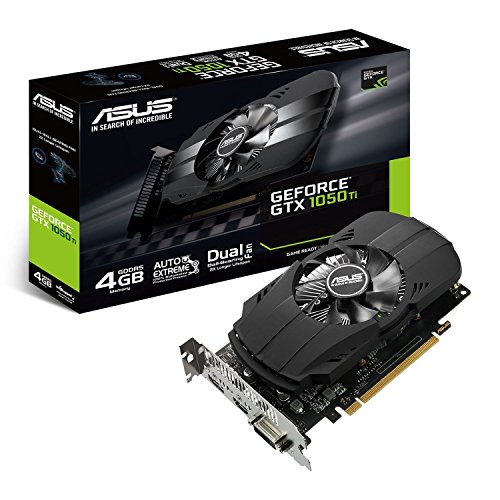
2. GPU (Graphics Card)
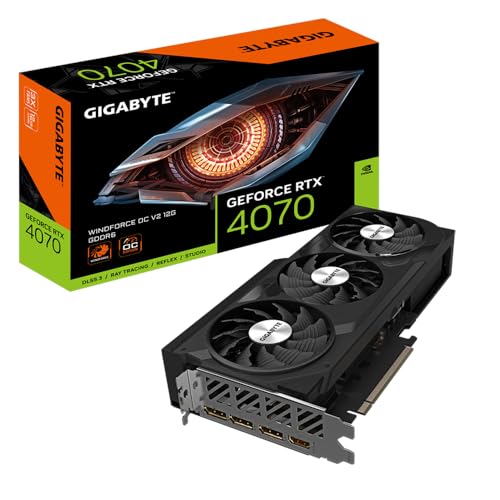
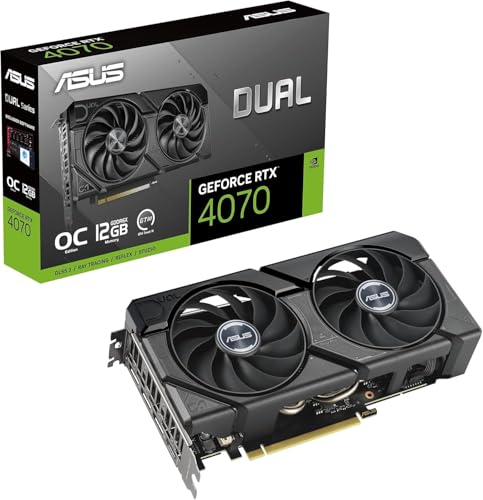
The GPU is the most important component for gaming. For a budget build, look for mid-range or older generation cards.
- NVIDIA Options: GTX 1660 Super, RTX 3050.
- AMD Options: RX 6600, RX 5600 XT.
3. Motherboard
Ensure the motherboard is compatible with your CPU and supports essential features.
- AMD AM4 Socket: B450, B550.
- Intel LGA 1700 Socket: B660 or H610.
Tip: Consider motherboards with room for future upgrades.
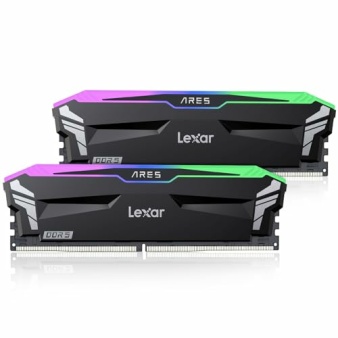
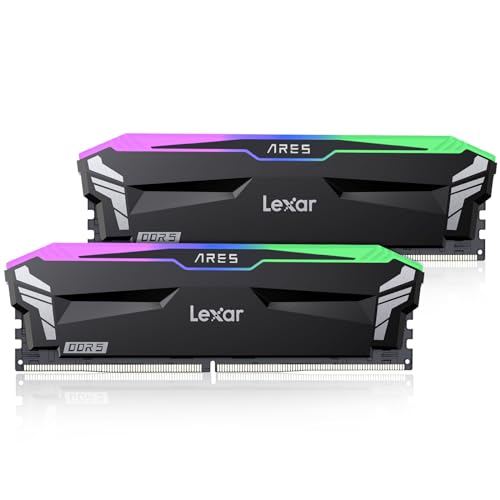
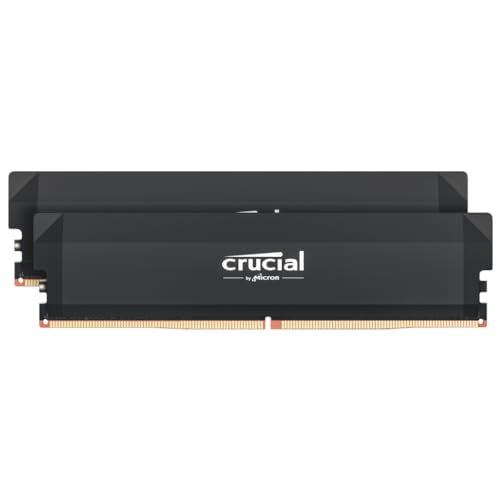
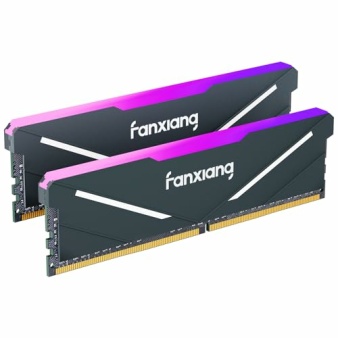
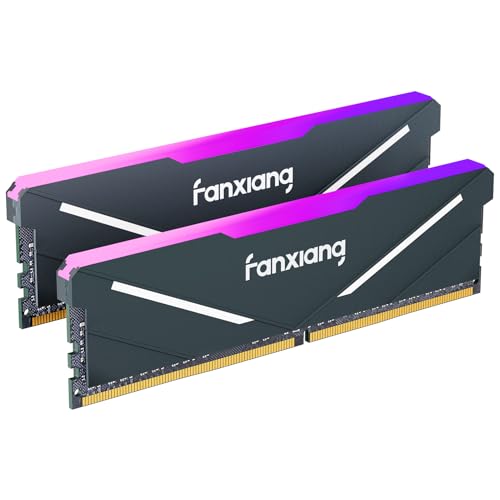
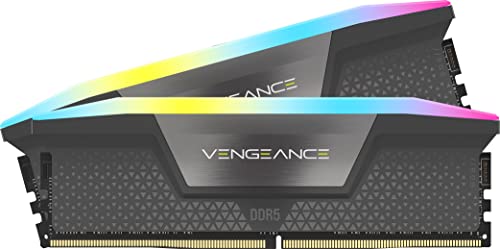
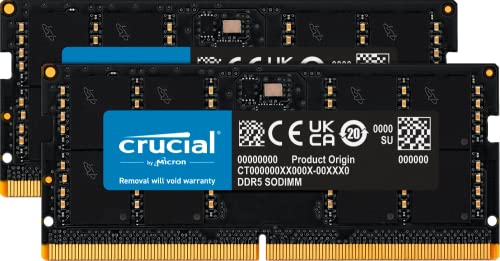
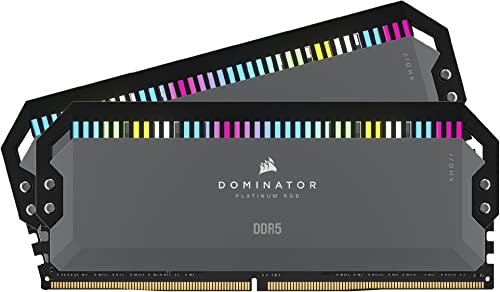
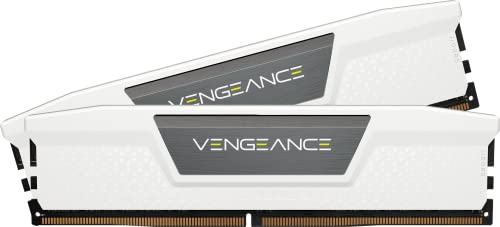
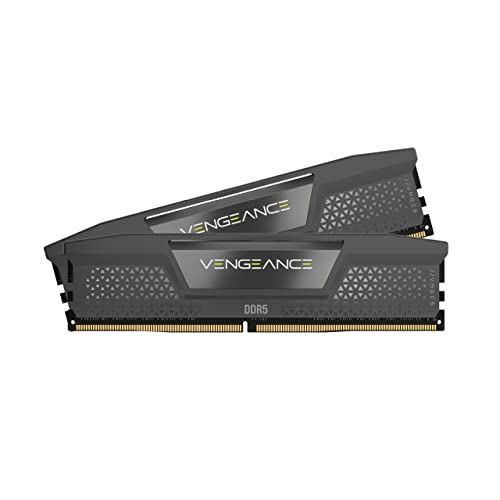
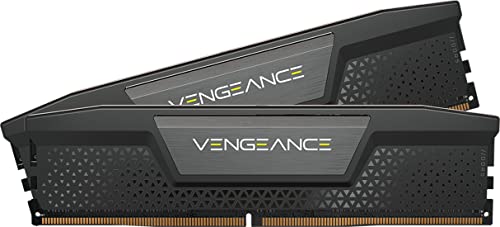
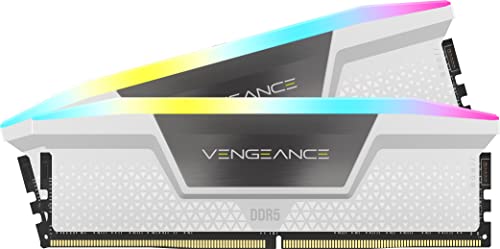
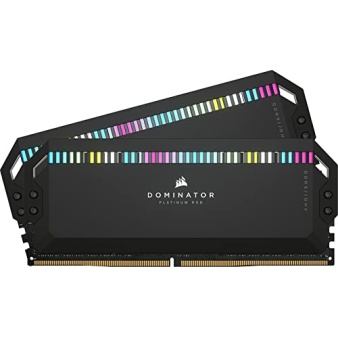
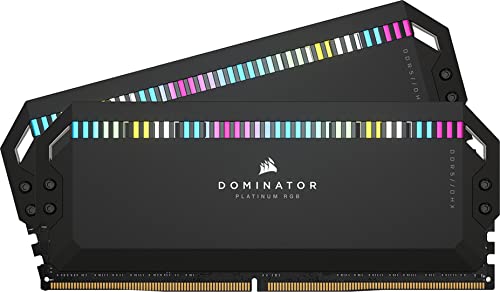
4. RAM (Memory)
- Minimum: 16GB (2x8GB) DDR4 at 3200MHz for optimal performance.
5. Storage
- SSD: 500GB to 1TB NVMe SSD for fast load times (recommended).
- Budget Option: 1TB SATA SSD or combine SSD + HDD for more storage.
6. Power Supply (PSU)
Choose a reliable PSU with at least 80+ Bronze efficiency.
- Recommended Wattage: 500W – 600W.
- Trusted Brands: Corsair, EVGA, Thermaltake.
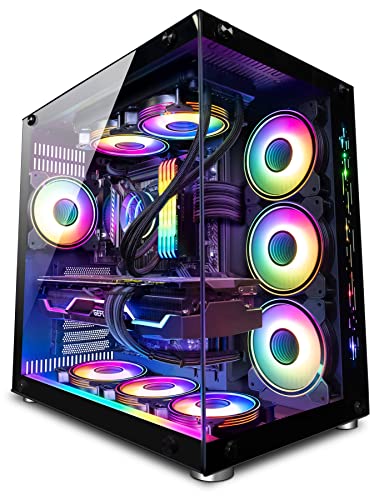
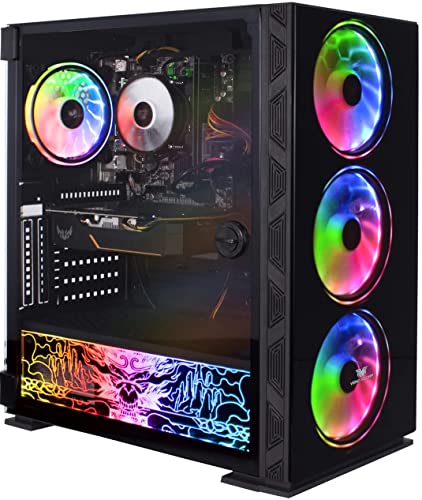
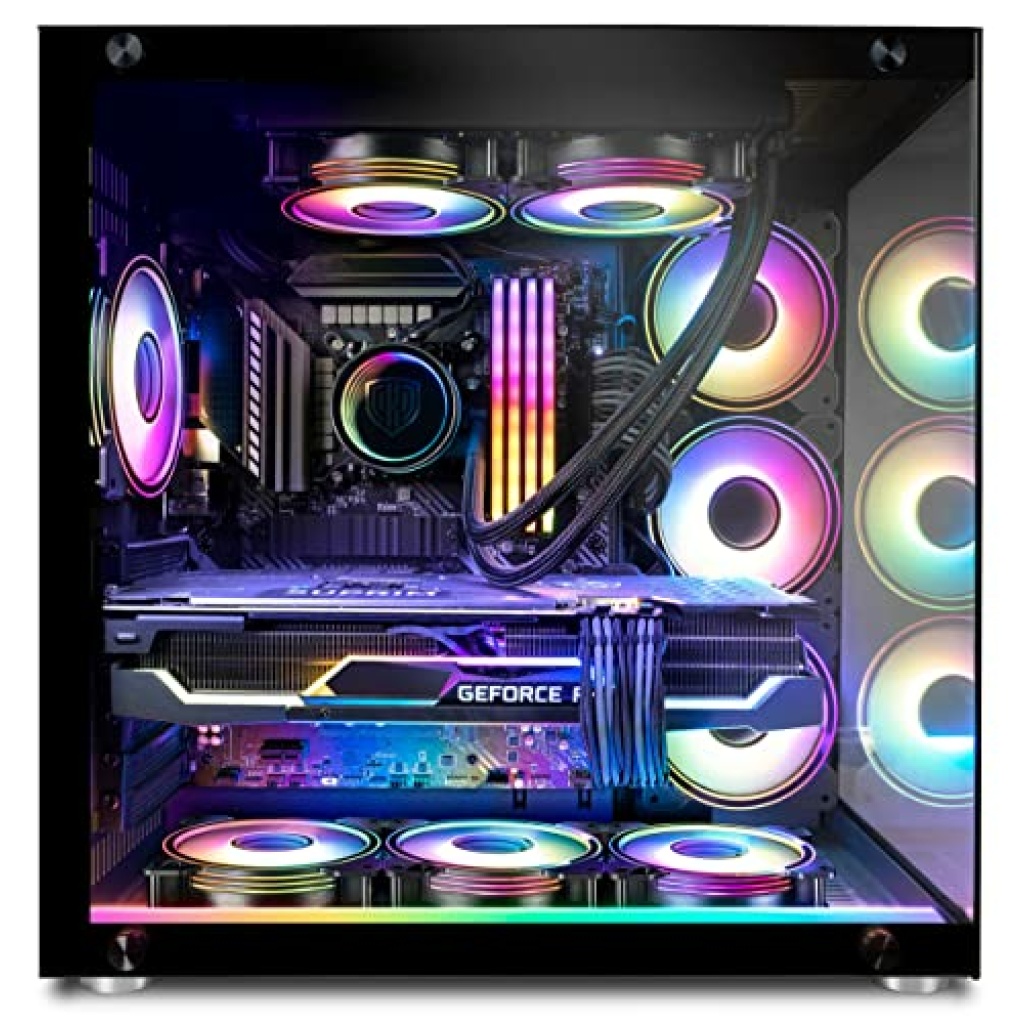
7. Case
Pick a case that supports your motherboard size (ATX, Micro-ATX) and offers good airflow.
- Budget Cases: NZXT H510, Cooler Master Q300L, DeepCool Matrexx 50.
💻 Step 3: Assemble the PC
1. Install the CPU and Cooler
- Carefully place the CPU into the motherboard socket.
- Attach the cooler, applying thermal paste if necessary.
2. Install RAM
- Insert RAM sticks into the correct slots (check the motherboard manual).
3. Mount the Motherboard in the Case
- Screw the motherboard into the case’s standoffs.
4. Install Storage (SSD/HDD)
- Attach SSDs to M.2 slots or 2.5-inch drive bays.
- Connect SATA cables for HDDs.
5. Install GPU
- Insert the graphics card into the PCIe slot and secure it with screws.
6. Connect Power Supply
- Plug in the 24-pin and 8-pin CPU power connectors.
- Connect PCIe power to the GPU.
7. Cable Management
- Route cables neatly to avoid clutter and improve airflow.
🖥️ Step 4: Install the Operating System
- Create a Bootable USB Drive with Windows 10/11 or Linux.
- Boot from the USB and install the OS.
- Download drivers (GPU, motherboard) from the manufacturer’s website.
🕹️ Step 5: Optimize for Gaming
- Install Essential Software: Steam, Epic Games Launcher, Discord.
- Adjust Graphics Settings to match your performance targets (1080p 60fps for budget builds).
- Overclock (Optional): Slightly overclock your CPU/GPU if supported.
🏆 Sample Budget Build (~$600 – $700)
| Component | Model | Price (Approx.) |
|---|---|---|
| CPU | Ryzen 5 5600G | $120 |
| GPU | RX 6600 | $200 |
| Motherboard | Gigabyte B450M DS3H | $80 |
| RAM | 16GB (2x8GB) DDR4 3200MHz | $40 |
| Storage | 500GB NVMe SSD | $40 |
| PSU | EVGA 600W 80+ Bronze | $50 |
| Case | DeepCool Matrexx 50 | $60 |


