


Building your own gaming PC can be an exciting project that allows you to customize your setup for performance, aesthetics, and budget. Here’s a step-by-step guide to help you through the process:
1. Set Your Budget and Goals
Before you start purchasing components, decide on a budget. This will determine what level of performance you can achieve and help you decide between higher-end or budget-friendly parts. Consider:
- Resolution & Frame Rates: 1080p, 1440p, or 4K gaming.
- Type of Games: Some games are more CPU-intensive (strategy games), while others are GPU-heavy (shooters, open-world games).
- Future-Proofing: You may want room for upgrades or more powerful components down the line.
2. Choose Your Components
The main components you need to build a gaming PC are:
a. CPU (Processor)
- AMD and Intel are the two main brands. AMD Ryzen processors (like Ryzen 5 or 7) are great for gaming and multitasking, while Intel’s Core i5 or i7 processors are good for high gaming performance. Look for models with at least 6-8 cores.
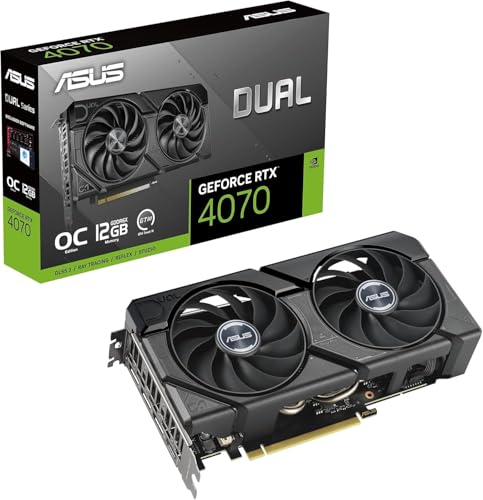
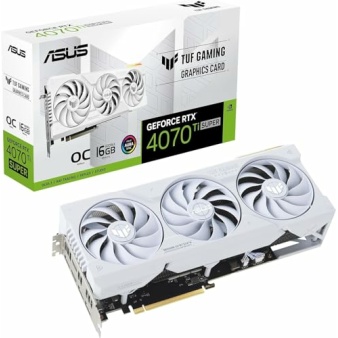
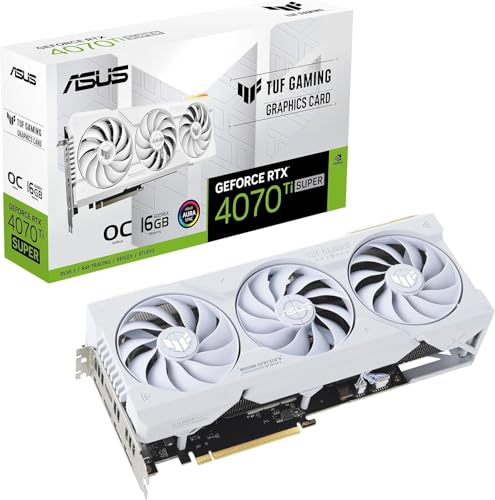
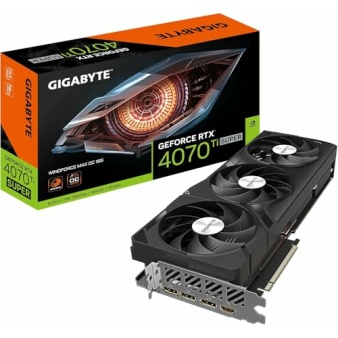
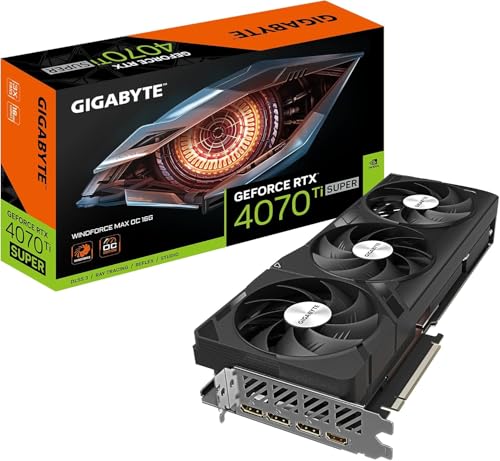
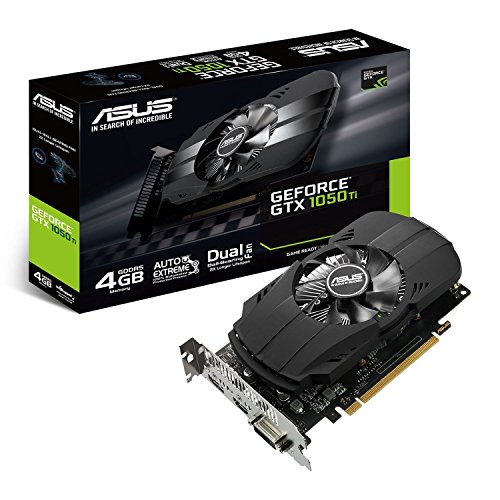
b. GPU (Graphics Card)
- This is the most important part for gaming. NVIDIA and AMD make the most popular gaming GPUs. For 1080p gaming, an NVIDIA GTX 1660 Super or AMD RX 6600 is solid. For higher resolutions like 1440p or 4K, consider an NVIDIA RTX 3070 or 3080, or AMD RX 6700 XT or 6800 XT.
c. Motherboard
- Choose a motherboard compatible with your CPU socket (e.g., AM5 for Ryzen or LGA 1700 for Intel). Consider features like support for Wi-Fi, USB ports, and PCIe slots. Popular sizes include ATX (standard) and Micro-ATX (compact builds).
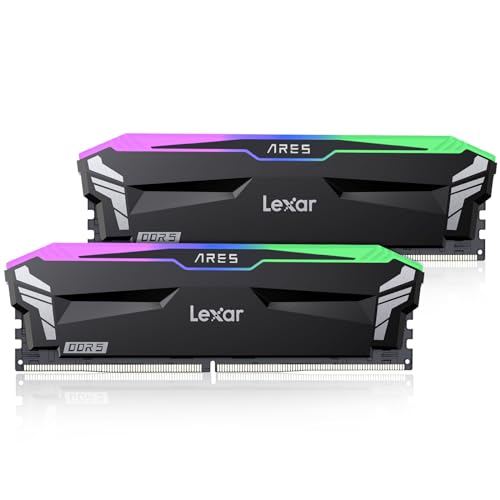
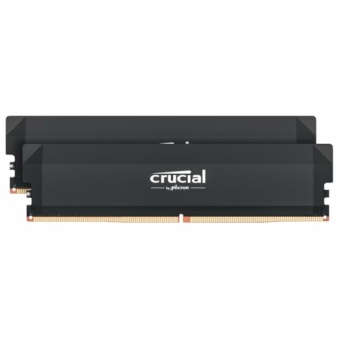
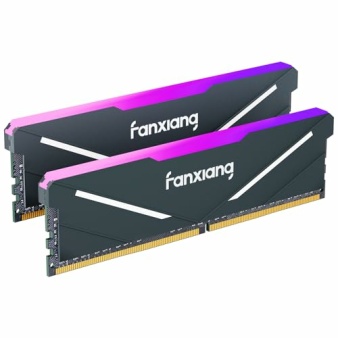
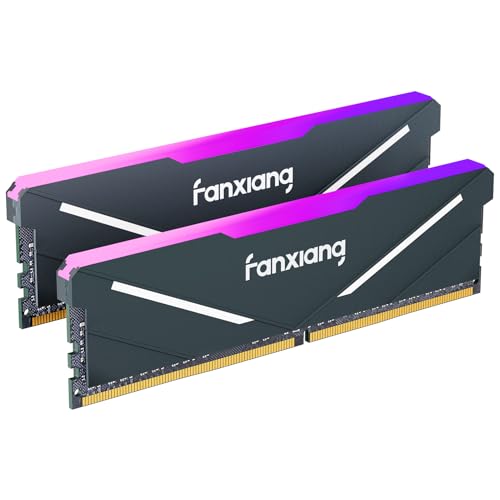
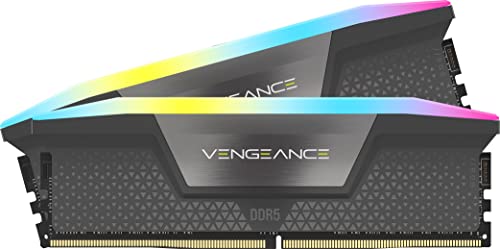
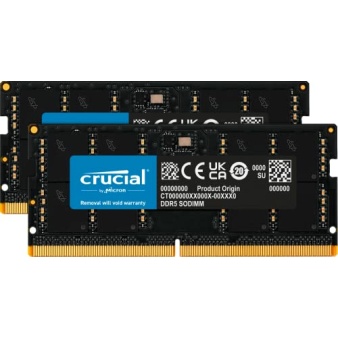
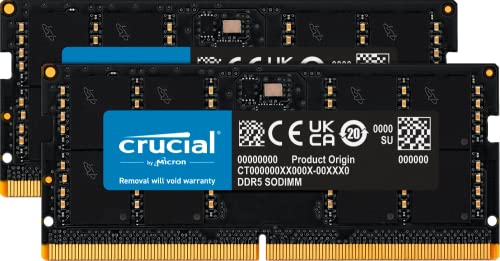
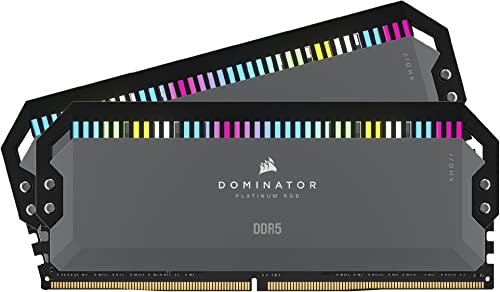
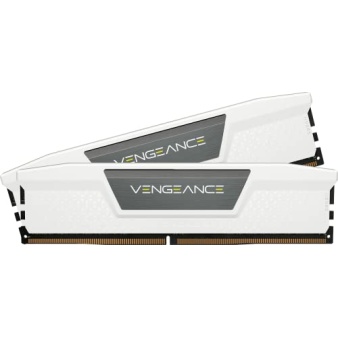
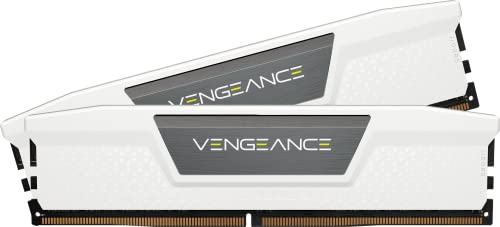
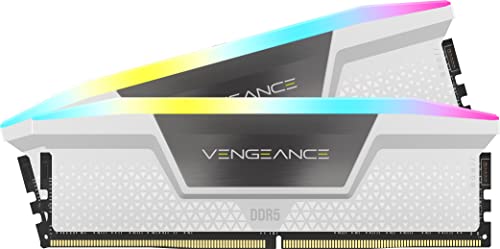
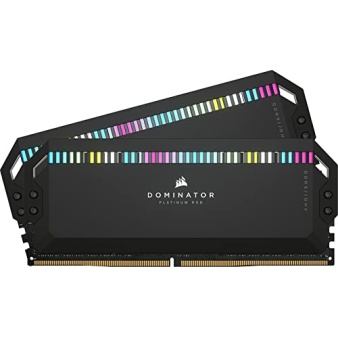
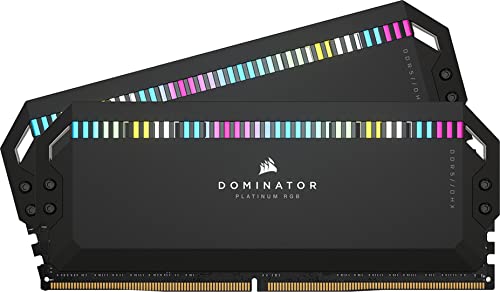
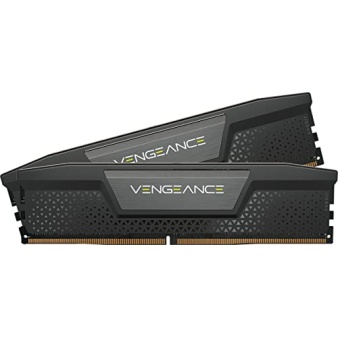
d. RAM (Memory)
- At least 16GB of DDR4 RAM is recommended for modern gaming. Higher frequencies like 3200MHz or 3600MHz can provide a slight performance boost. For high-end systems, 32GB might be useful, especially if you also do video editing or other multitasking.
e. Storage (SSD/HDD)
- An SSD (Solid State Drive) is a must for fast game load times and system performance. Consider an NVMe M.2 SSD (500GB to 1TB) for faster speeds. You can pair it with a larger, slower HDD (2TB+) for additional storage.
f. Power Supply Unit (PSU)
- Make sure your PSU has enough wattage to power your components. Use an online PSU calculator to determine the wattage needed, but for most builds, a 500W–750W PSU will suffice. Look for a certified PSU (80+ Bronze or Gold) for efficiency and reliability.
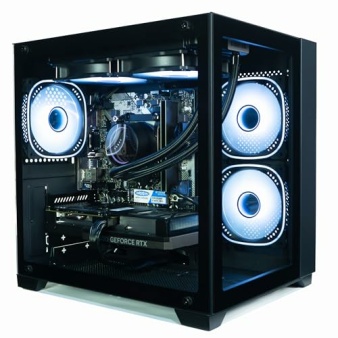
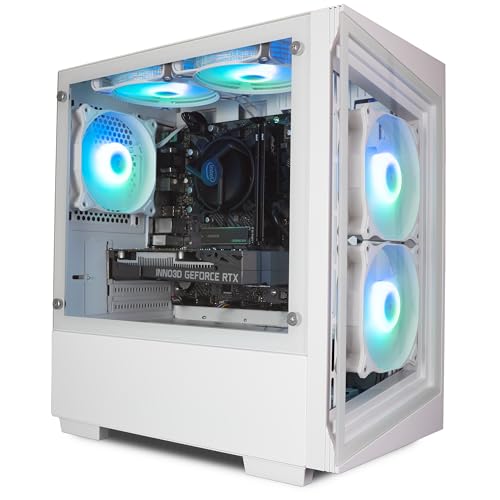
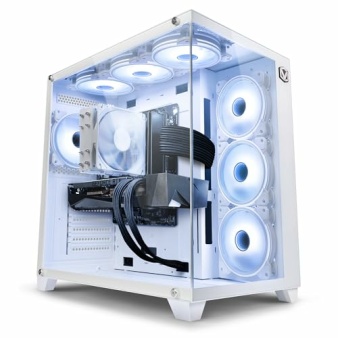
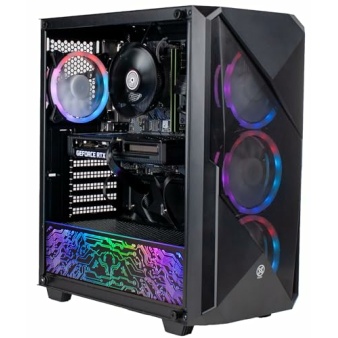
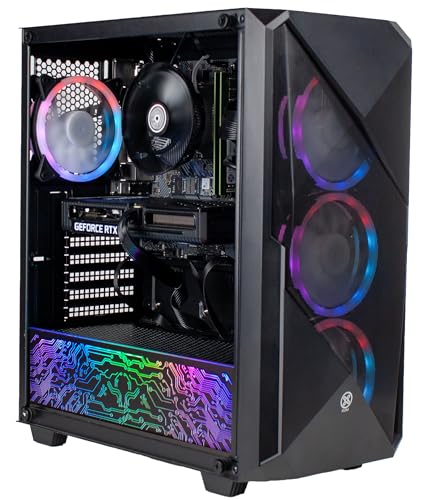
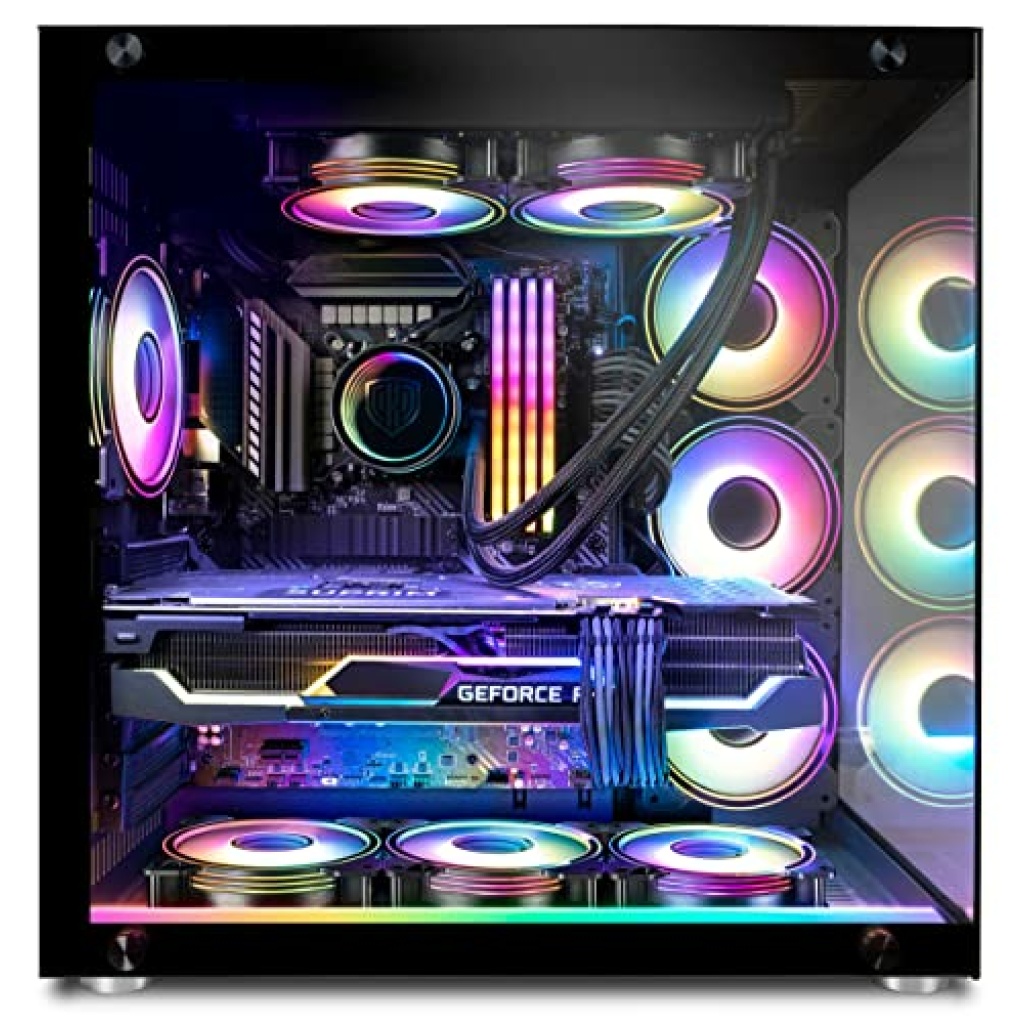
g. Case
- Choose a case that fits your motherboard (ATX, Micro-ATX, etc.) and has good airflow. Look for cases with mesh front panels and space for multiple fans or liquid cooling, if needed. Some cases come with RGB lighting or tempered glass for aesthetic purposes.
h. Cooling System
- You can use the stock cooler that comes with many CPUs, but for better performance or overclocking, consider an aftermarket air cooler or AIO liquid cooler. Ensure your case supports the cooler’s size.
3. Gather Tools
You’ll need a basic set of tools:
- Screwdriver (magnetic tip is helpful).
- Anti-static wrist strap (optional, but recommended to prevent static damage).
- Cable ties to manage cables and keep your case tidy.
4. Assemble the PC
a. Install the CPU on the Motherboard
- Place the motherboard on a flat surface. Open the CPU socket latch, align the CPU with the socket (match the gold triangle on the CPU with the corner of the socket), and gently place it in. Close the latch.
b. Install the CPU Cooler
- Attach the cooler onto the CPU. If using the stock cooler, it usually has pre-applied thermal paste. If not, apply a pea-sized amount of thermal paste on the CPU before attaching the cooler. Screw the cooler in place and connect the fan cable to the motherboard.
c. Install RAM
- Align the RAM with the DIMM slots on the motherboard and press down until it clicks into place. Check the motherboard manual for the correct slots for dual-channel performance.
d. Install the Storage (SSD)
- For an M.2 SSD, find the M.2 slot on your motherboard, insert the drive at an angle, then press it flat and secure it with a screw. For 2.5″ SSDs or HDDs, use the appropriate drive bays and SATA cables.
e. Install the Motherboard into the Case
- Place the case on its side and install the I/O shield (backplate) if it didn’t come pre-installed. Line up the motherboard with the standoffs in the case and screw it in.
f. Install the Power Supply (PSU)
- Place the PSU in its designated slot, usually at the bottom of the case. Route the necessary power cables to the motherboard, GPU, and storage.
g. Install the GPU
- Insert the GPU into the top PCIe x16 slot on the motherboard. Secure it with screws at the rear of the case and connect the PSU cables to the GPU.
5. Connect Cables
- 24-pin ATX power cable from PSU to the motherboard.
- 8-pin CPU power cable to the top of the motherboard.
- PCIe power cables to the GPU.
- SATA cables for any SSDs or HDDs.
- Front panel connectors (power button, USB ports, audio jacks) to the motherboard.
6. Power On and Enter BIOS
- Plug in the PC, connect the monitor, keyboard, and mouse, and press the power button. If everything is connected properly, the PC should power up. Enter the BIOS (press Delete or F2 during boot) to ensure all components are recognized (especially CPU, RAM, and storage).
7. Install Operating System (OS)
- Create a bootable USB drive with Windows 10/11 or another OS using tools like Rufus. Insert the USB drive and follow the on-screen instructions to install the OS onto your SSD.
8. Install Drivers and Software
- After installing the OS, install the necessary drivers for your GPU, motherboard, and other components. You can find these on the manufacturer’s websites.
- Install your preferred gaming platform (Steam, Epic Games, etc.) and start downloading games.
9. Optional: Overclocking and Aesthetics
- You can tweak performance further by overclocking the CPU or GPU through the BIOS or specialized software. Make sure to monitor temperatures using programs like MSI Afterburner or HWMonitor.
- Customize your PC with RGB lighting or additional fans for better cooling.
PC Build Examples (Based on Budget)
Budget Build (~$700)
- CPU: AMD Ryzen 5 5600
- GPU: NVIDIA GTX 1660 Super or AMD RX 6600
- Motherboard: B550 (for Ryzen)
- RAM: 16GB DDR4
- Storage: 500GB NVMe SSD
- PSU: 500W 80+ Bronze
- Case: Affordable ATX with decent airflow
Mid-Range Build (~$1,200)
- CPU: AMD Ryzen 7 5800X or Intel i5-13600K
- GPU: NVIDIA RTX 3060 Ti or AMD RX 6700 XT
- Motherboard: B550 (Ryzen) or Z690 (Intel)
- RAM: 16GB DDR4 (3600MHz)
- Storage: 1TB NVMe SSD
- PSU: 650W 80+ Gold
- Case: Mid-tower with good cooling and cable management
High-End Build (~$2,000+)
- CPU: Intel i7-13700K or AMD Ryzen 9 7950X
- GPU: NVIDIA RTX 4070 Ti or AMD RX 7900 XTX
- Motherboard: X670 (Ryzen) or Z790 (Intel)
- RAM: 32GB DDR5
- Storage: 2TB NVMe SSD
- PSU: 750W–850W 80+ Gold
- Case: Premium ATX with excellent airflow and RGB